Do you keep track of how much time you're spending on the project?
Could be interesting.

Personal computing discussed
Moderators: askfranklin, renee, emkubed, Captain Ned
meerkt wrote:Do you keep track of how much time you're spending on the project?
Could be interesting.
ludi wrote:Well, I was curious about the cost myself, and interestingly, US$1k is about what I've hit for a couple of my own projects on this scale.
But he was wondering about the time?
SecretSquirrel wrote:about $950
meerkt wrote:SecretSquirrel wrote:about $950
Without the tools?
But yeah, time is more important. 100-150 hours sounds pretty good, I think? Considering the multidisciplinary nature of it, having to learn a lot as you go, and the attention to detail (nickel plating!).
@ludi
BTW, how much time so far on your project?
ludi wrote:assuming you're not trying to work with exotic zebrawood or soemthing
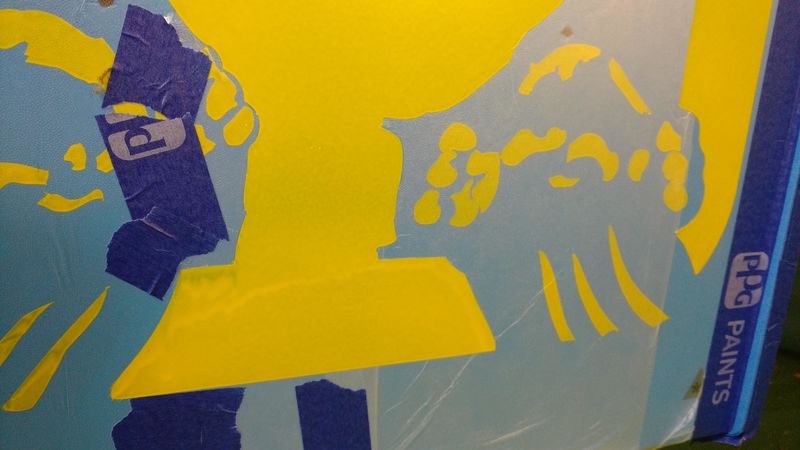
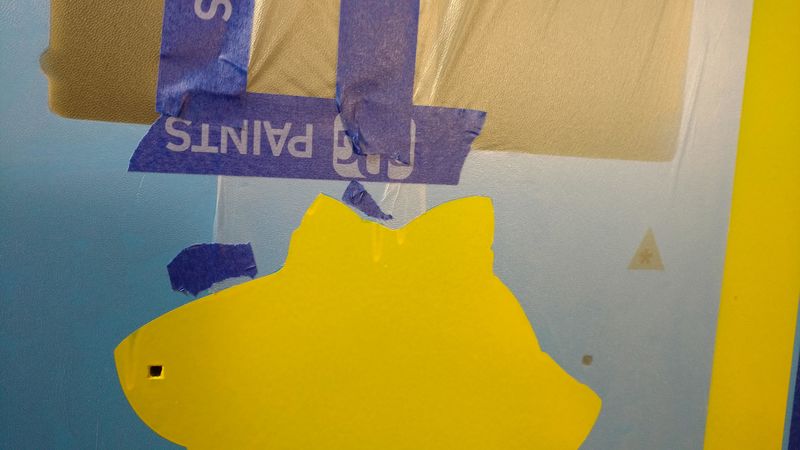
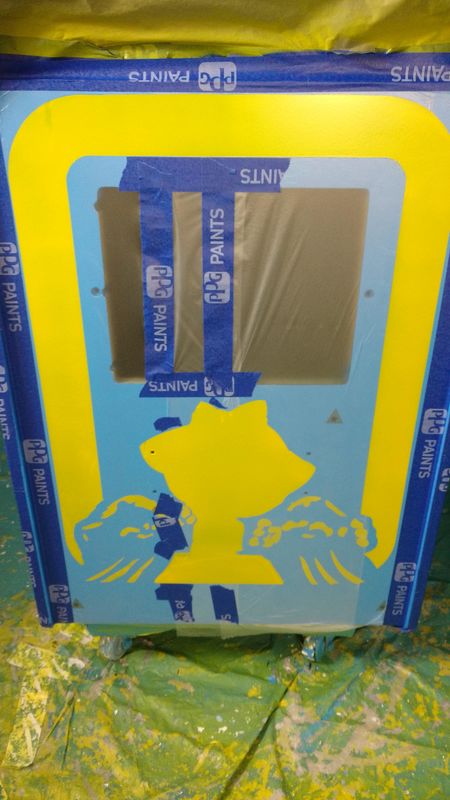
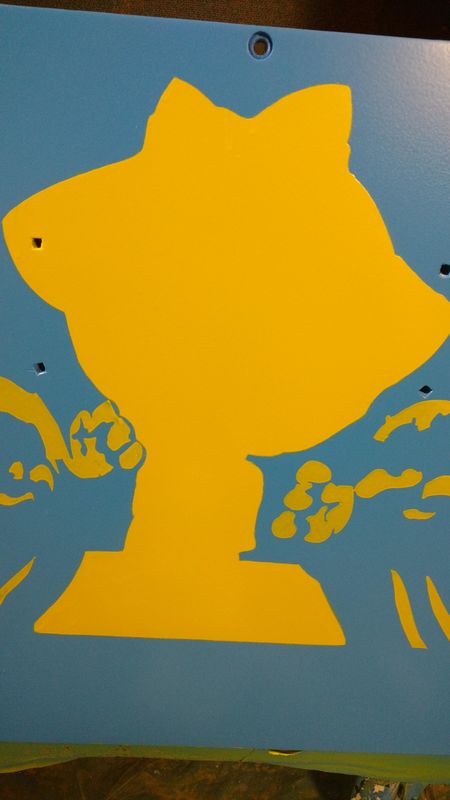
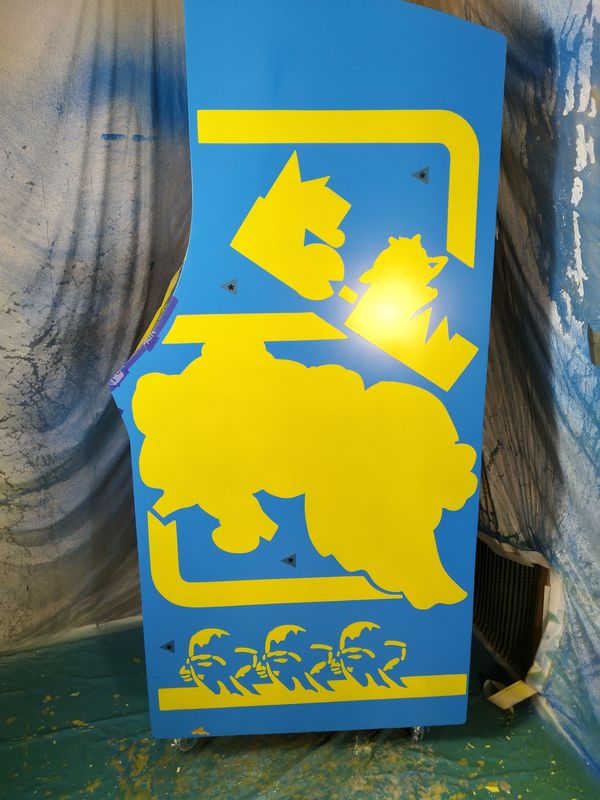
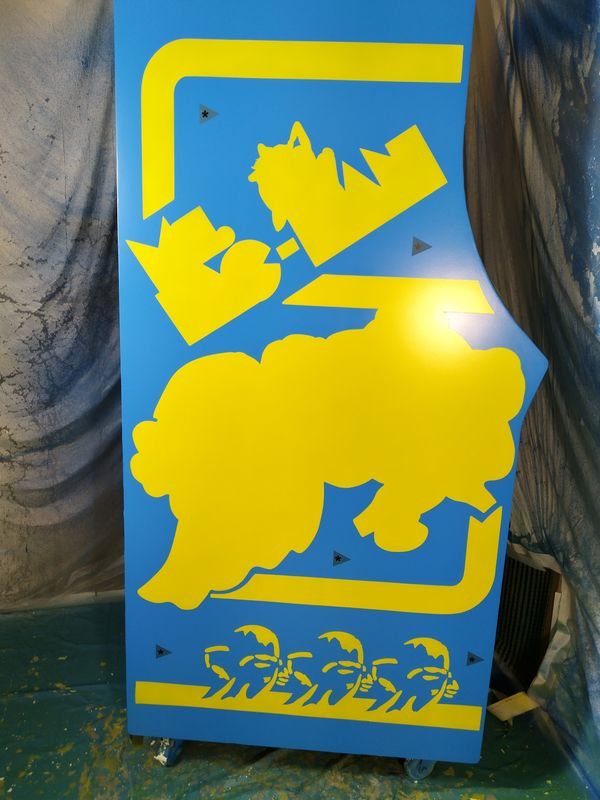
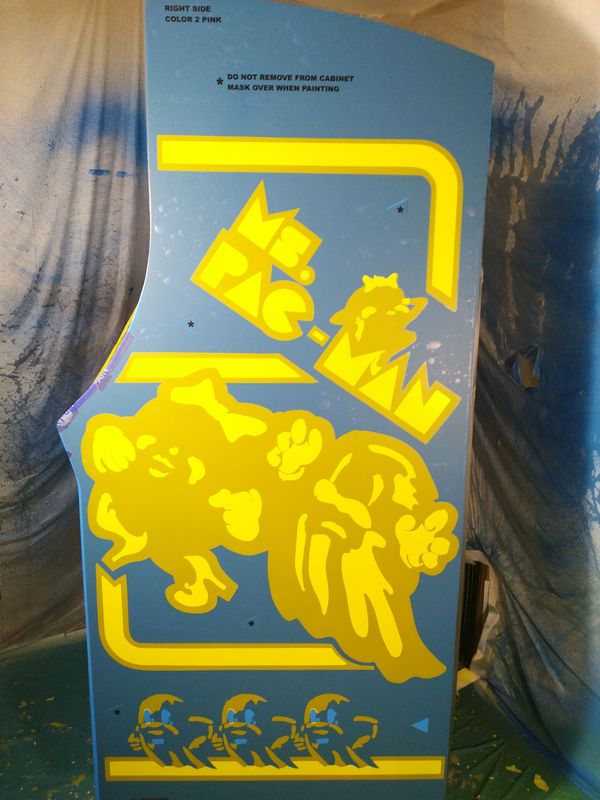
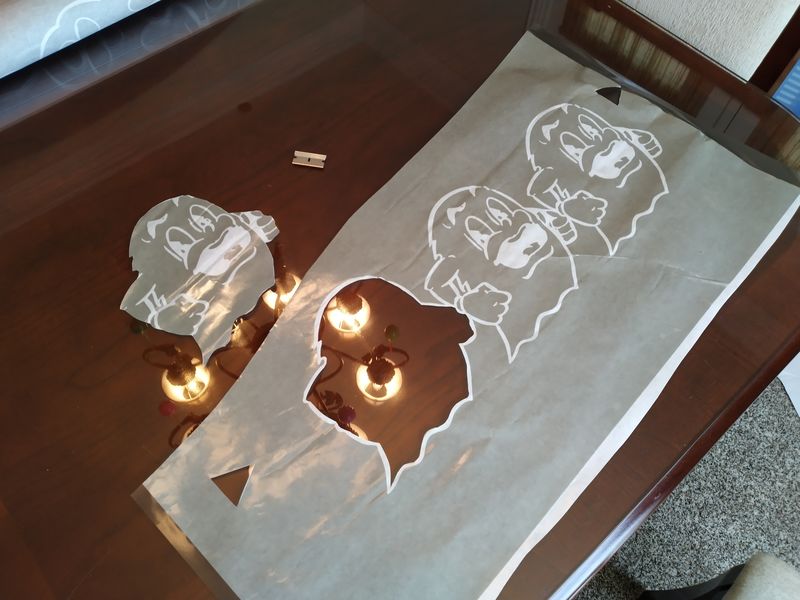
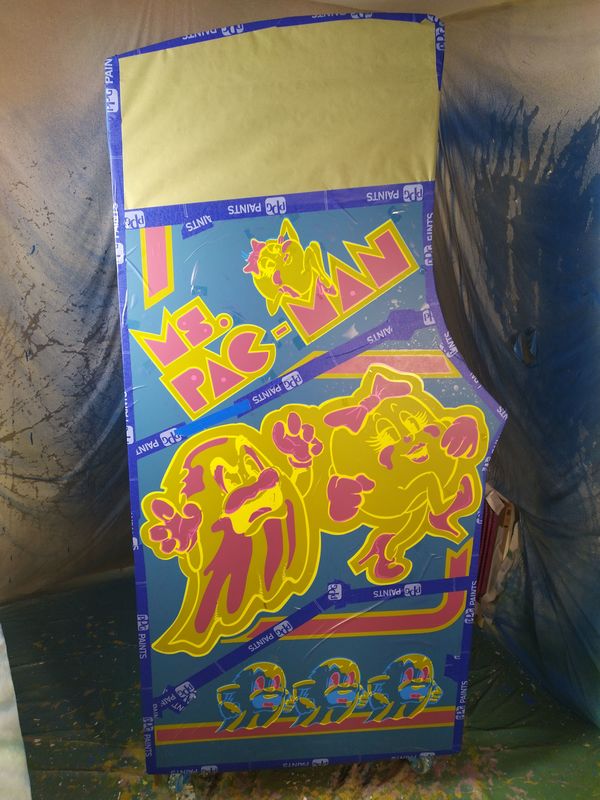
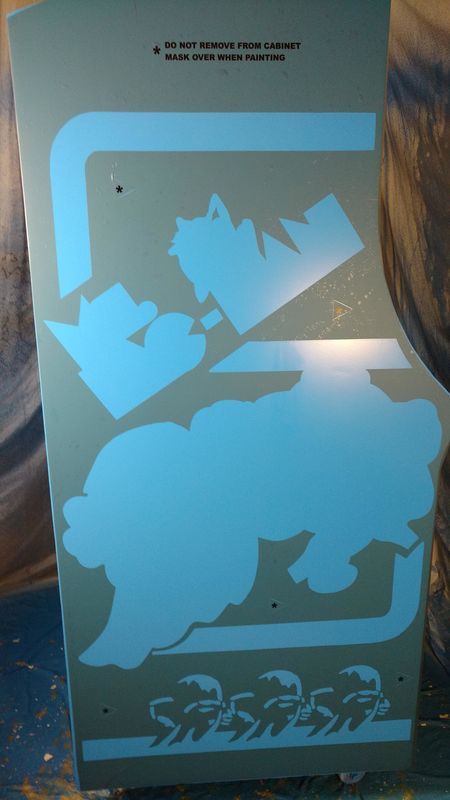
SecretSquirrel wrote:The stencils were $175.
ludi wrote:scale model building
meerkt wrote:SecretSquirrel wrote:The stencils were $175.
Why so expensive?

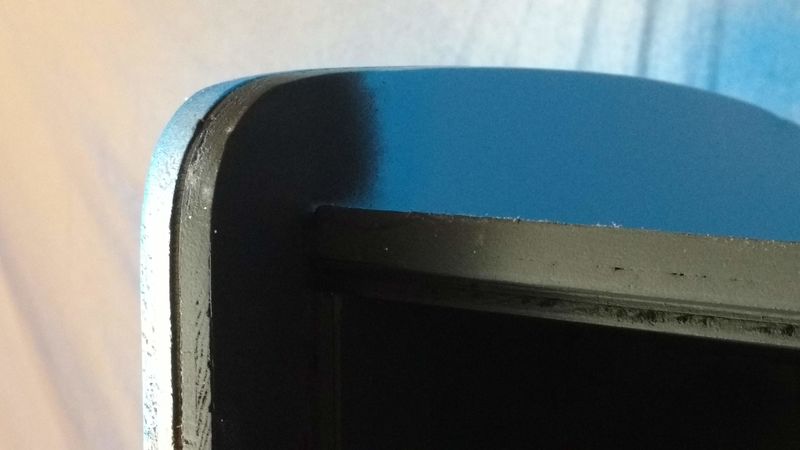

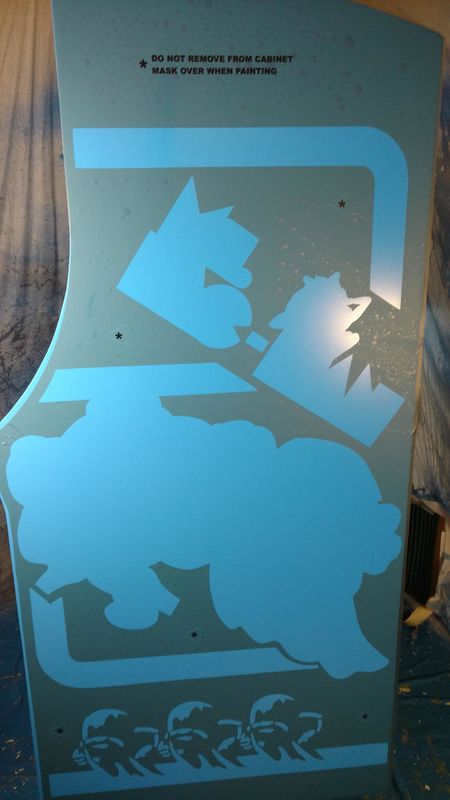


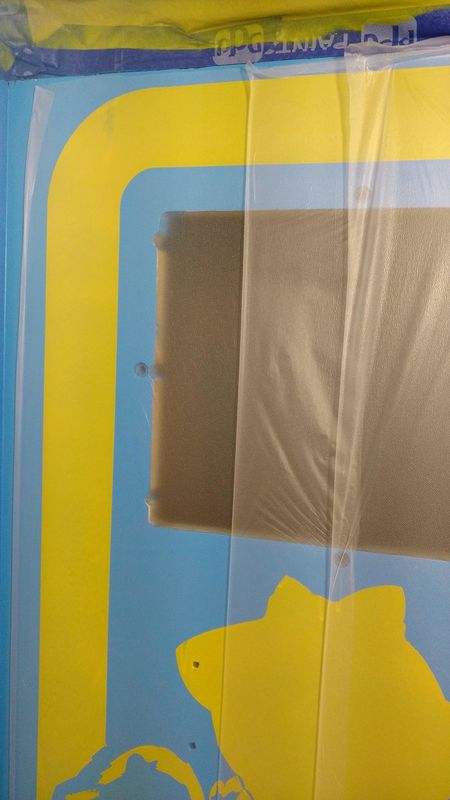
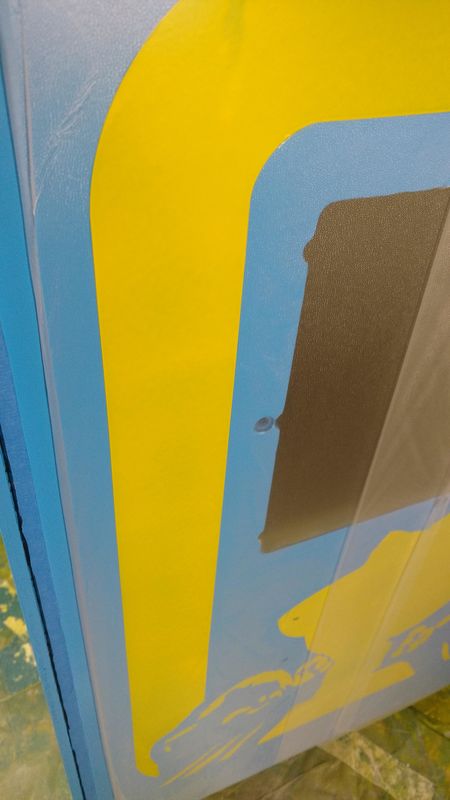
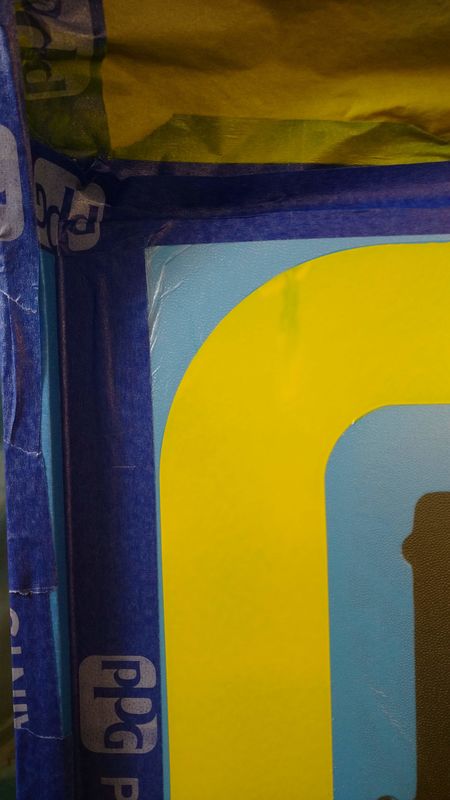
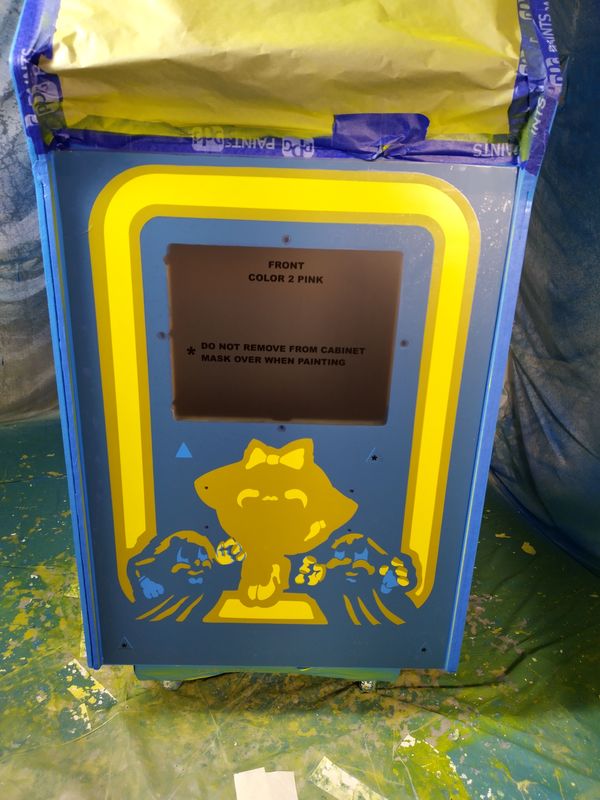
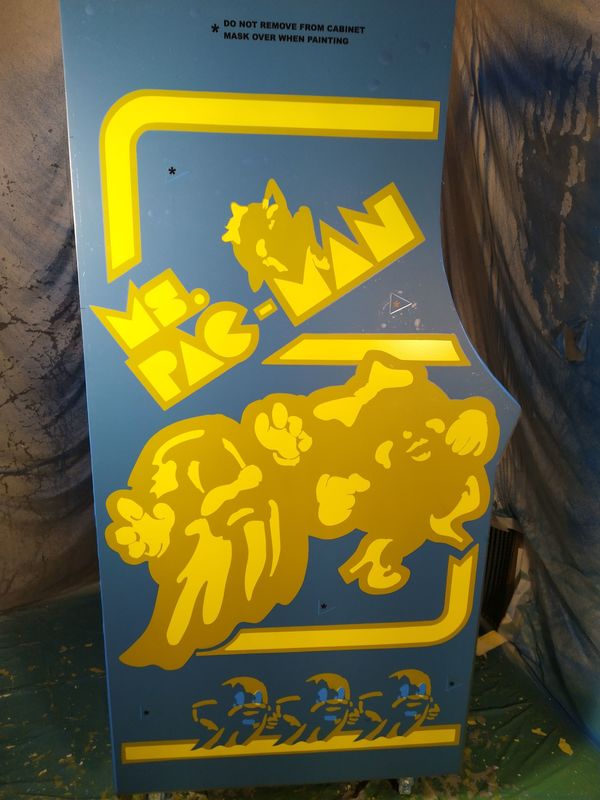
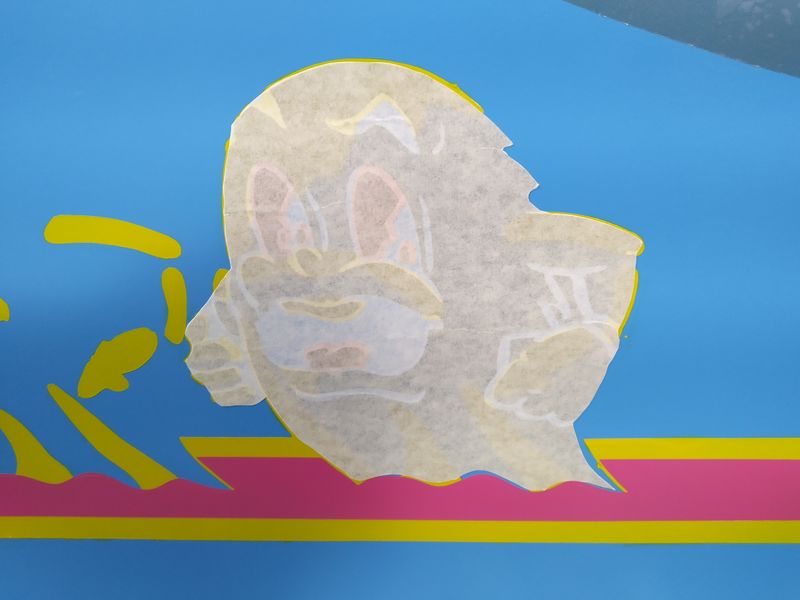
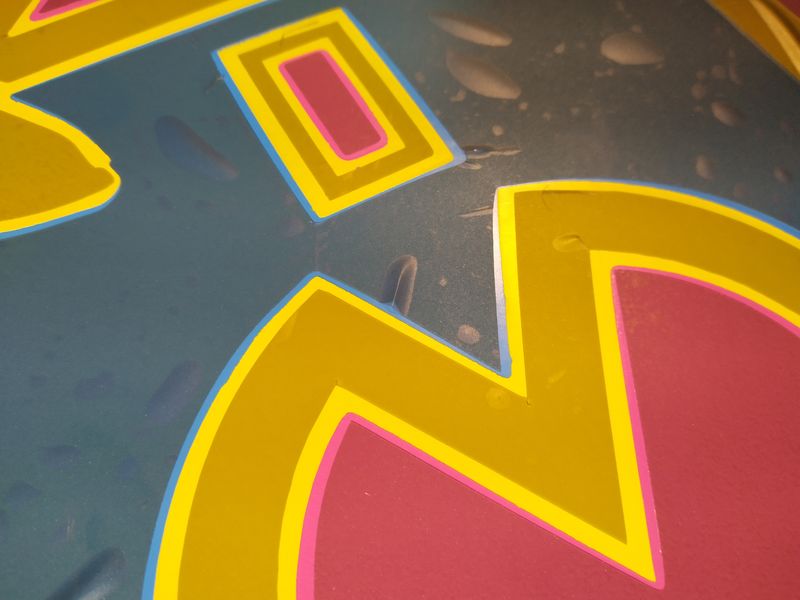
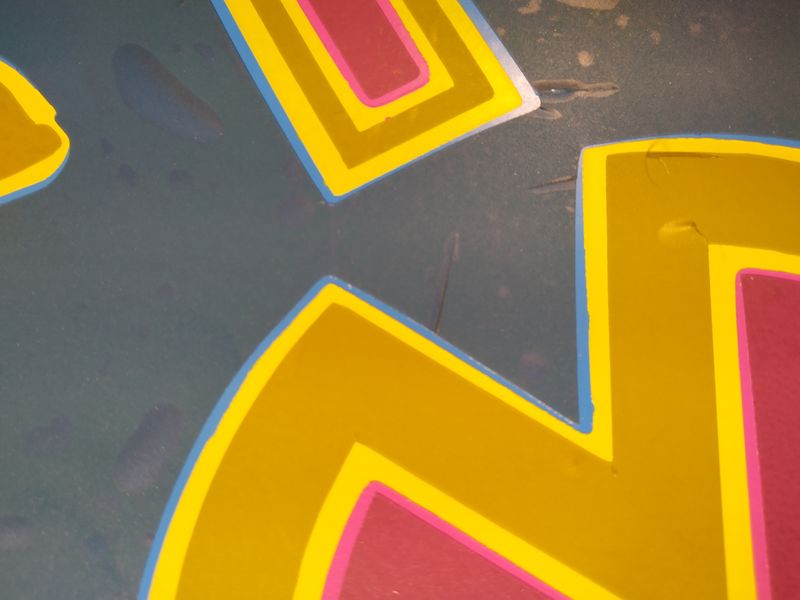
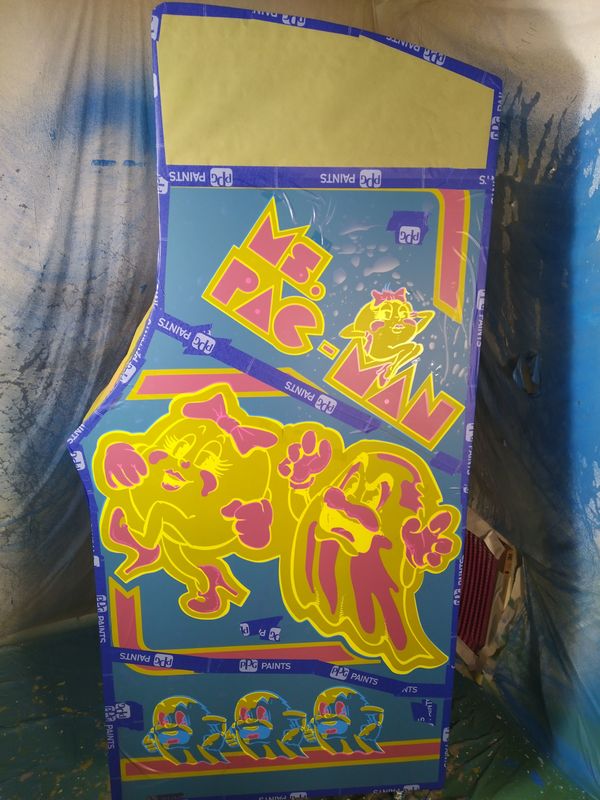
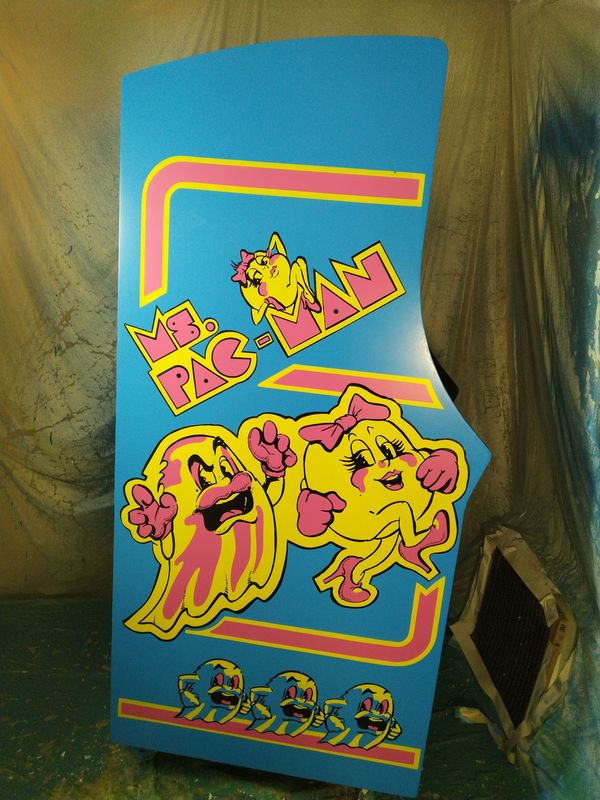
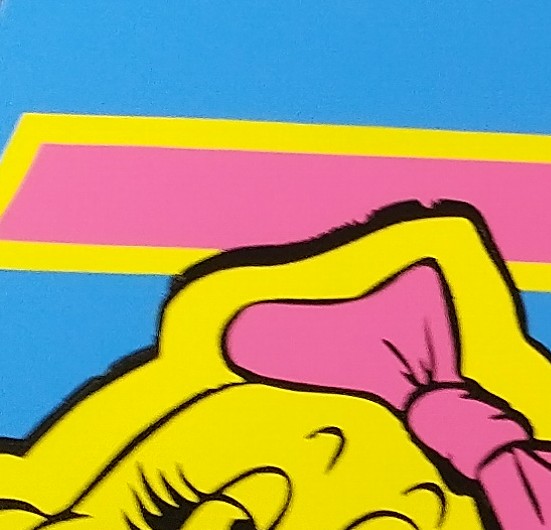
Krogoth wrote:Very nice, don't hit yourself so hard over minor imperfections on the matte placements. You've done an excellent job so far.
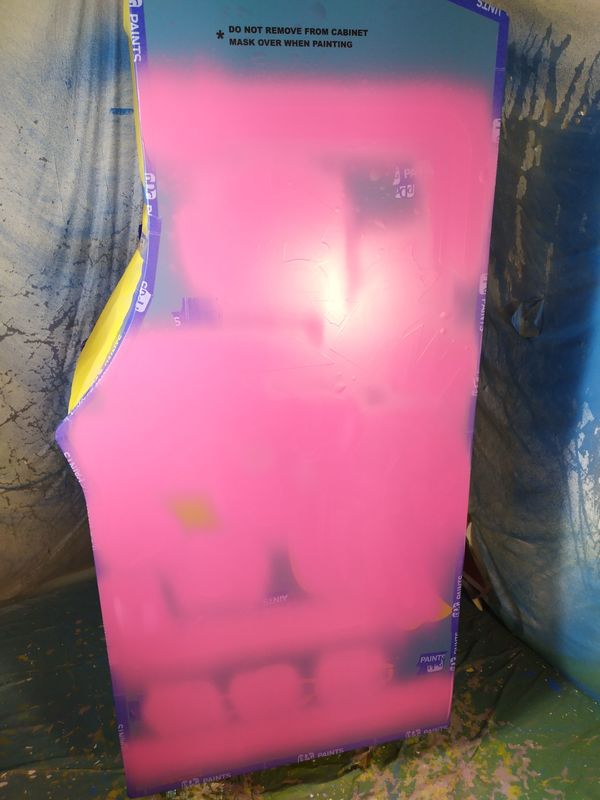
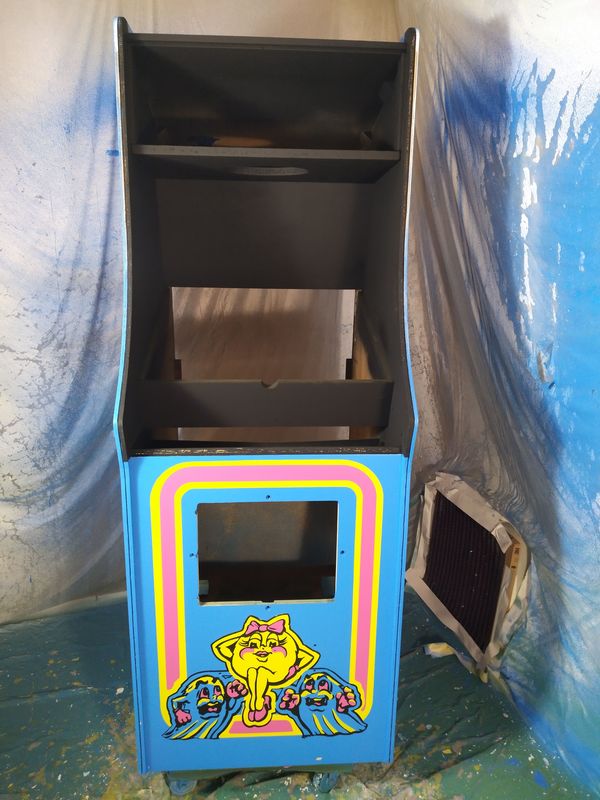
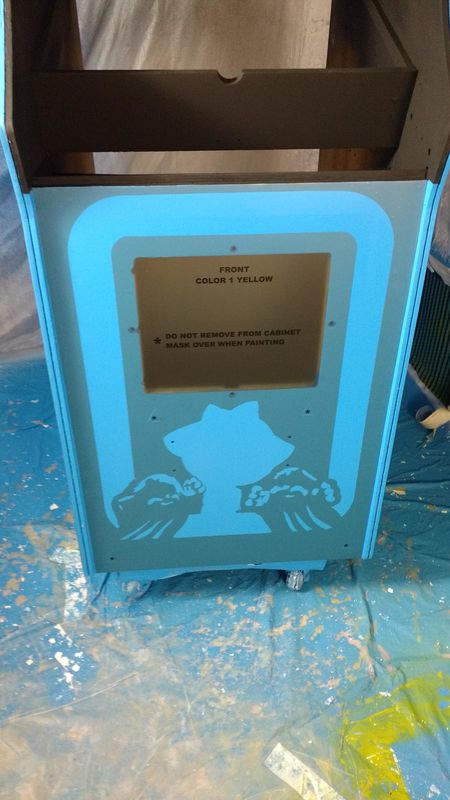
bthylafh wrote:This is probably a ridiculously naive question, but why don't you lay the cabinet down so that whatever side you're painting is horizontal? That should eliminate runs, right?
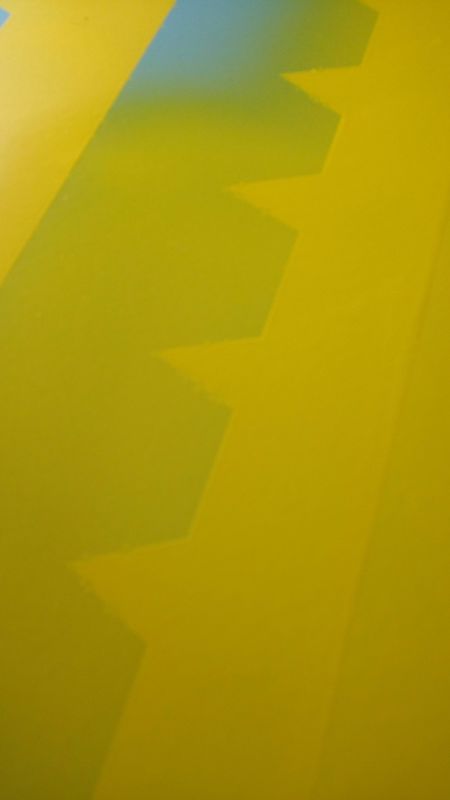
SecretSquirrel wrote:bthylafh wrote:This is probably a ridiculously naive question, but why don't you lay the cabinet down so that whatever side you're painting is horizontal? That should eliminate runs, right?
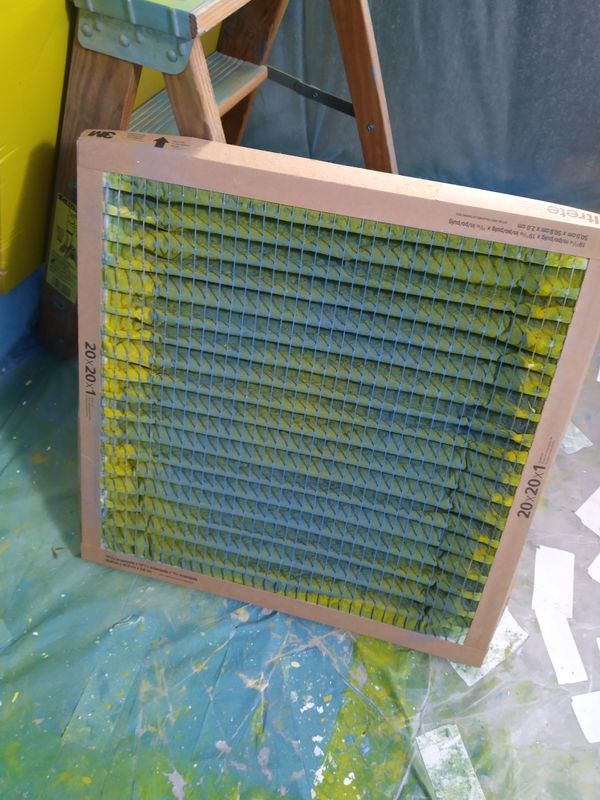
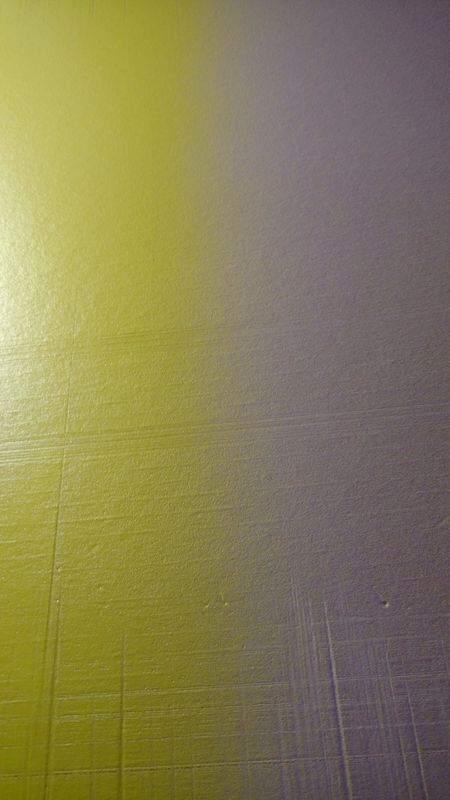
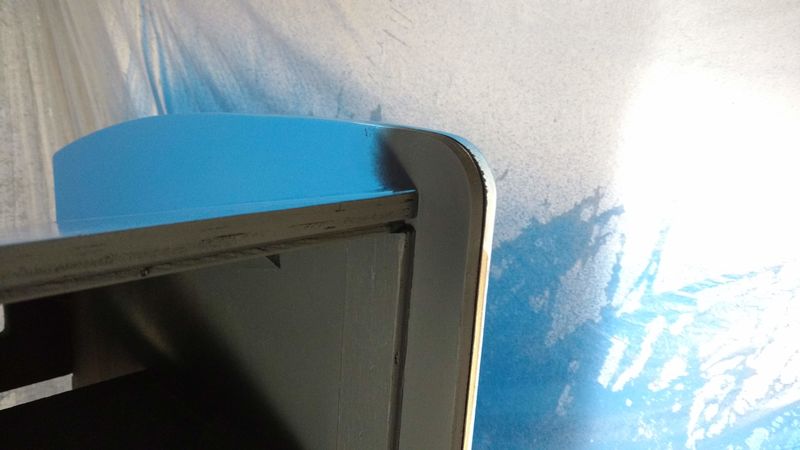
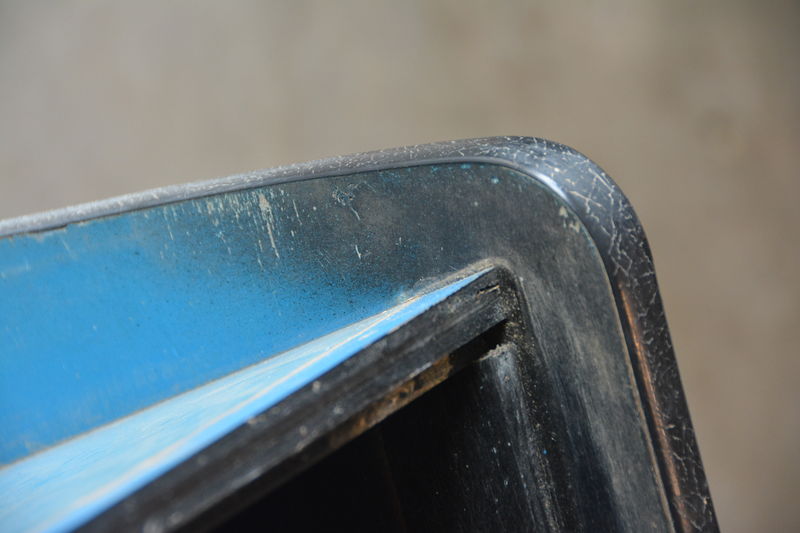
Fundamentally the same reason the tape left texture in the paint. Laying it down would likely leave marks in the paint surface until such time as it is cured. Keeping a smooth surface clean on which to lay it is difficult too. Once dry, the paint is incredibly soft and hardens over time as it cures. It takes a good 24 hours for a coat to dry thoroughly, assuming the humidity is reasonable. At that point, laying the cabinet on surface with any texture (even a microfiber cloth) would imprint the texture as it would be laying there for 24-36 hours.
--SS
just brew it! wrote:I think he's asking why you don't lay it down paint side up.
just brew it! wrote:SecretSquirrel wrote:bthylafh wrote:This is probably a ridiculously naive question, but why don't you lay the cabinet down so that whatever side you're painting is horizontal? That should eliminate runs, right?
Fundamentally the same reason the tape left texture in the paint. Laying it down would likely leave marks in the paint surface until such time as it is cured. Keeping a smooth surface clean on which to lay it is difficult too. Once dry, the paint is incredibly soft and hardens over time as it cures. It takes a good 24 hours for a coat to dry thoroughly, assuming the humidity is reasonable. At that point, laying the cabinet on surface with any texture (even a microfiber cloth) would imprint the texture as it would be laying there for 24-36 hours.
--SS
I think he's asking why you don't lay it down paint side up.
just brew it! wrote:Sounds like he could paint only once every 3-4 days if an already-painted side has to be down.
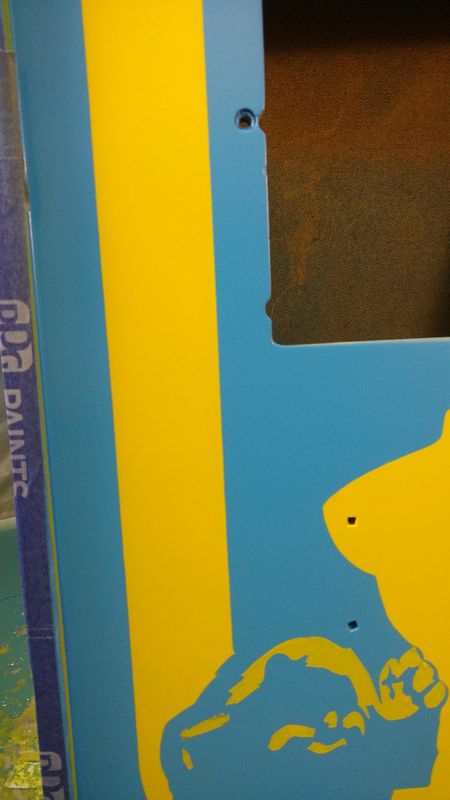
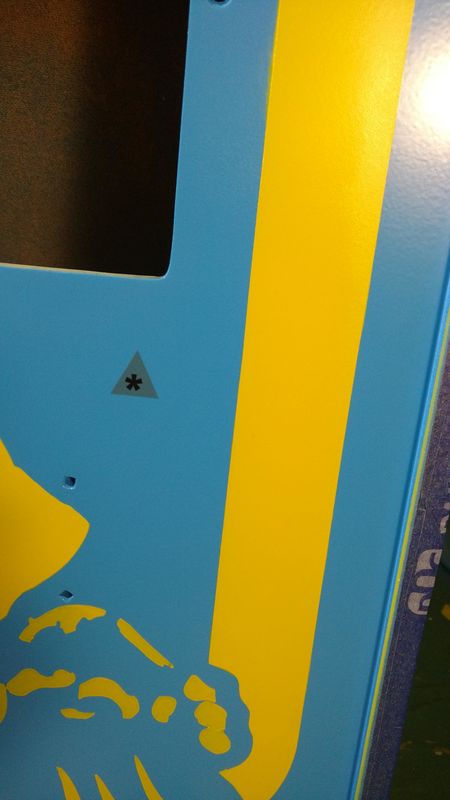
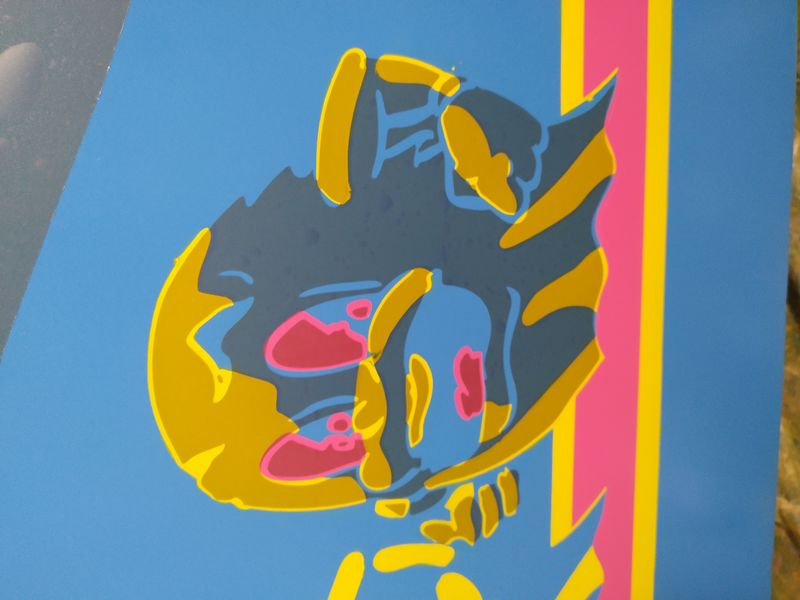
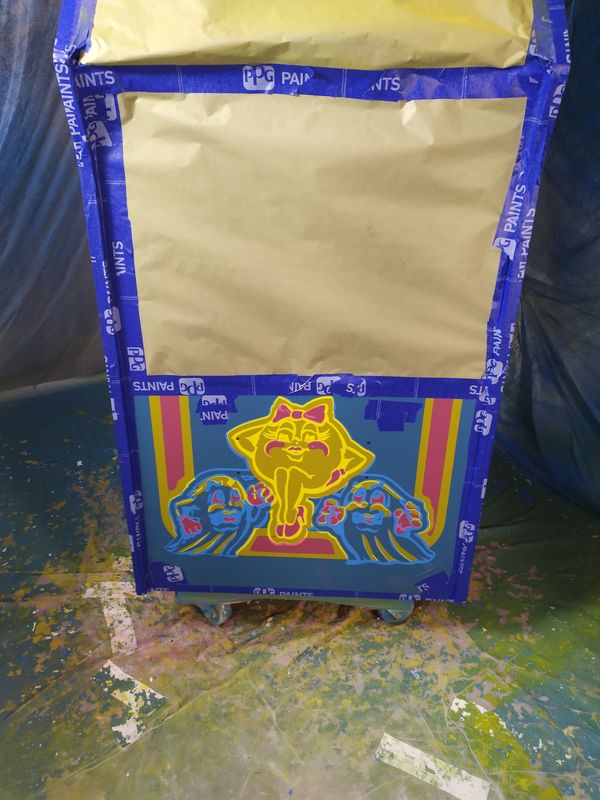
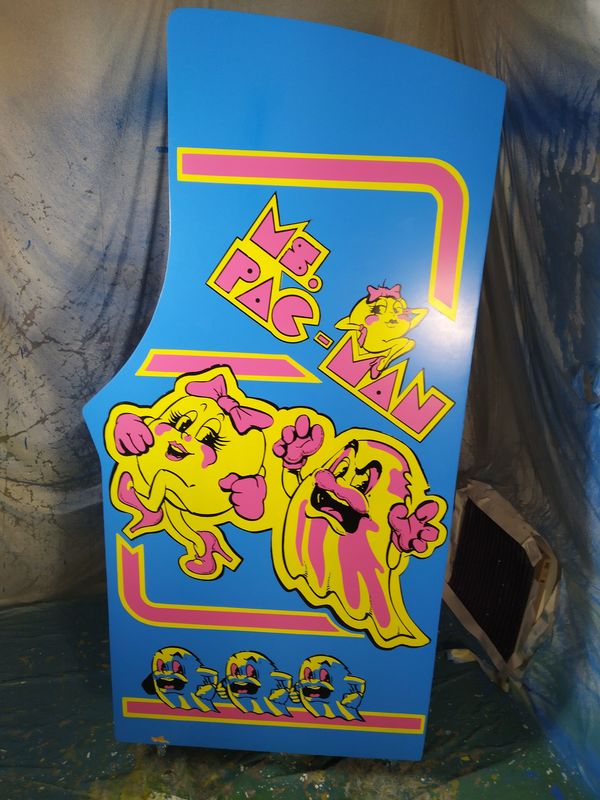
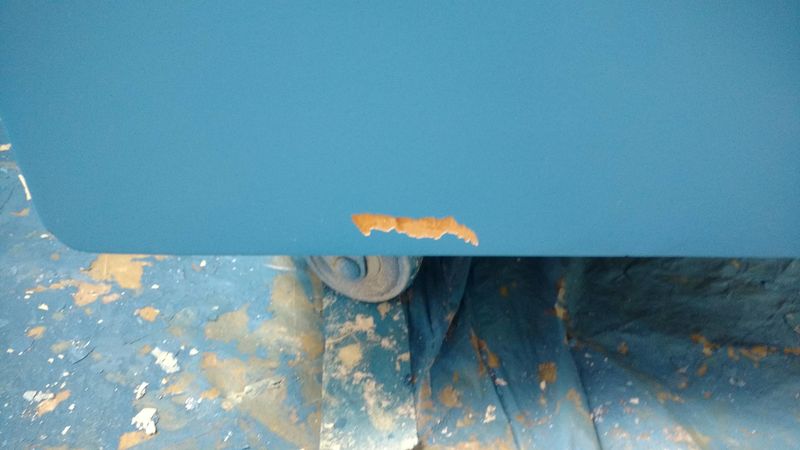
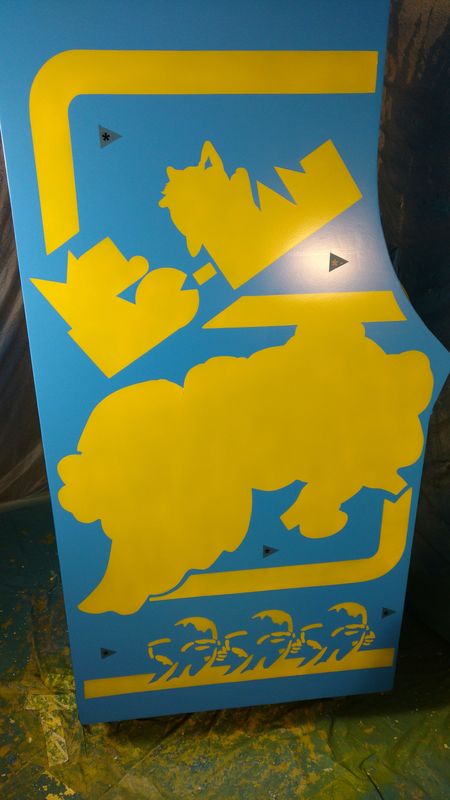
SecretSquirrel wrote:Still pondering and I haven't actually be back to look at it since it's dried to see how it looks now. Very disappointing. But, I am at the limits of my current skills, and this is the first time I've done this -- hence the limited skills -- so live and learn. We all start somewhere.
ludi wrote:SecretSquirrel wrote:Still pondering and I haven't actually be back to look at it since it's dried to see how it looks now. Very disappointing. But, I am at the limits of my current skills, and this is the first time I've done this -- hence the limited skills -- so live and learn. We all start somewhere.
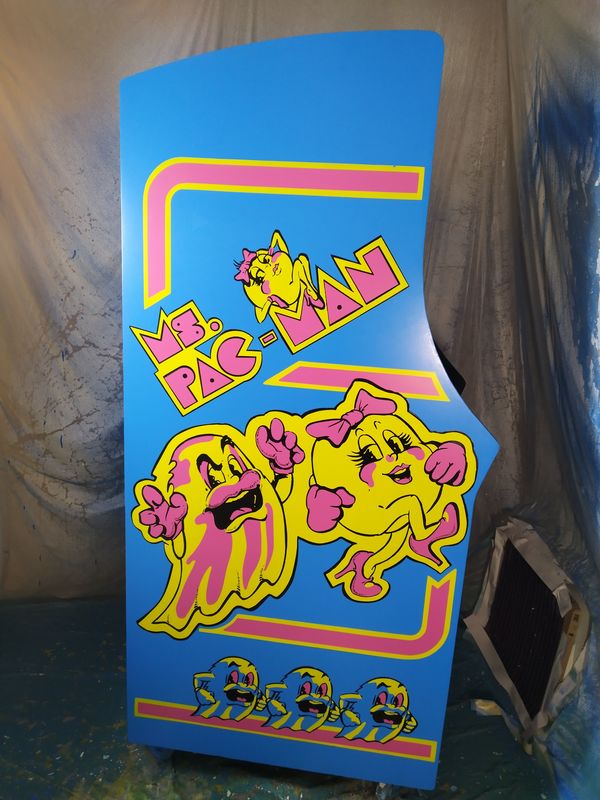
At this point it already looks better than half of all such projects. I assume a semi-automated version of what you're doing, plus a bit of hand airbrushing, is basically how they were originally painted at the factory?